
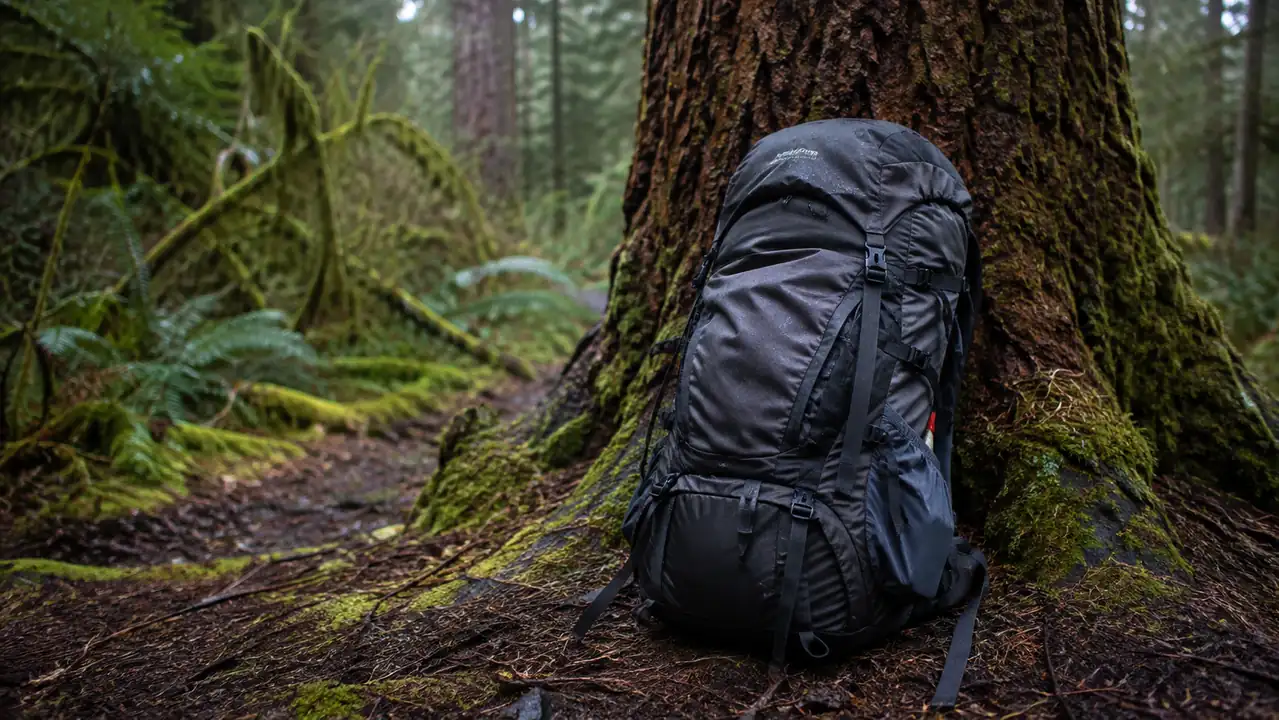
You have a fixed amount of space, a fixed amount of weight your shoulders will happily carry for three days, and a longer list of things you think you need than either of those will hold. I have watched the same two failures happen a dozen times at trailheads. One person brings a 45 liter pack stuffed like a sausage and fights the buckles the whole first climb. The other packs light on the wrong things, and by mile four is wishing they had brought the second water bottle and the good socks. A weekend in a 50 liter pack works when you stop asking what to bring and start asking what order it goes in.
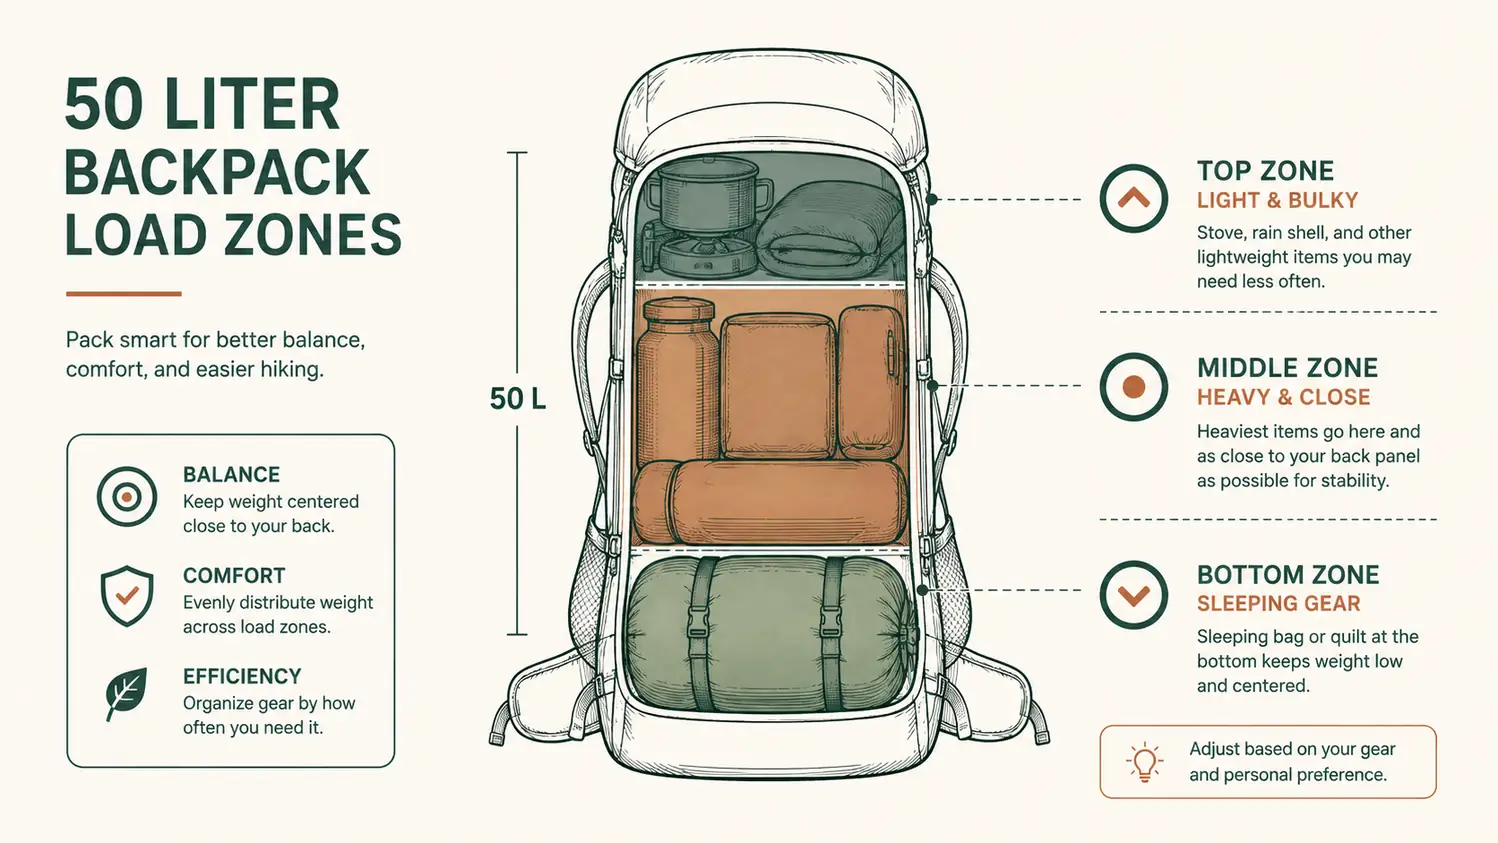
I carry the Loowoko 50L for most of my two-night trips in the Cascades. It is 45 liters with the extension collar packed out to about 50, with a rain cover in its own pocket and a frame light enough that I forget it is there until the pack is full. This is the load order that makes the volume work, the one thing the reviewer photos never show you: the stuff that weighs the most sits closest to your spine, the stuff you touch during the day lives in the lid, and the stuff that cannot get wet earns the waterproof zone.
Fifty liters is the sweet spot for a two night trip in the Olympics or the Cascades for a specific reason. A 40 liter pack forces hard choices on food and insulation. A 60 liter pack tempts you to bring a camp chair and a second pair of boots you will never use. At 50 liters, with the packing order below, you can carry a real tent, a warm bag, a full days food for each person, a stove and fuel, a filter, and one spare set of dry clothes, and still close it. What it will not fit is everything. No camp chair, no guitar, no cooler, no fourth pair of shoes. The pack is honest about its limits, and that honesty is what keeps a weekend from turning into a pack-mule hike.
Start with a pack that lets a full load sit right on your hips
Every word of this system assumes a pack that transfers weight to your hip belt instead of your shoulders. The Loowoko 50L is the affordable one I use for exactly these trips, and it is the pack I will keep loading this way.
Amazon Check Today's Price on Amazon →Step 1: Put the sleeping bag in the bottom, loose, not compressed to death
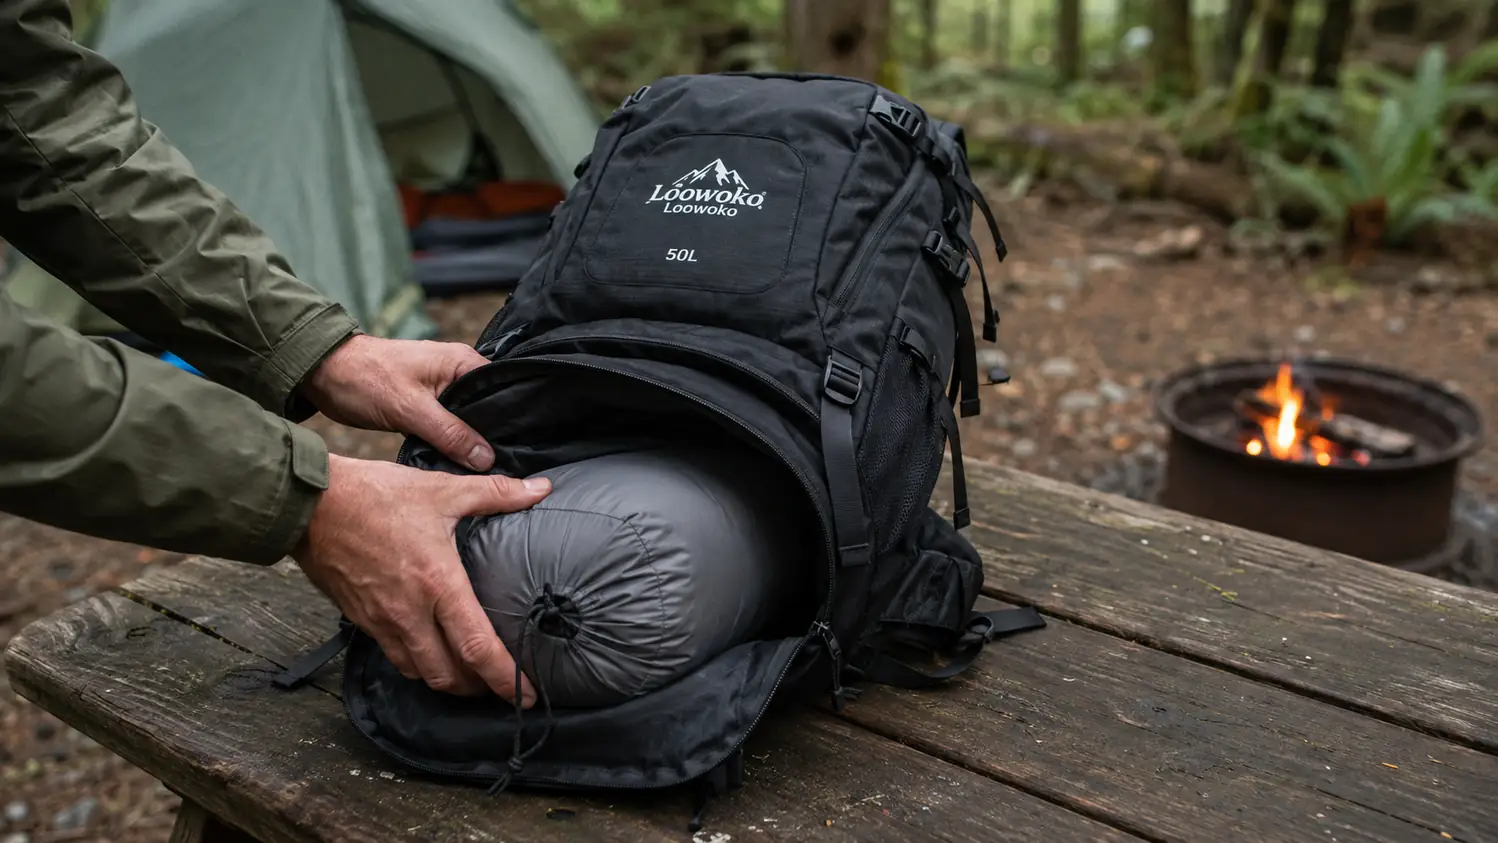
The sleeping bag is the bulky, soft thing, and it belongs in the bottom compartment, stuffed loose rather than rammed into a stuff sack the size of a grapefruit. A bag crammed into a tiny sack loses loft, and loft is your warmth. If your pack has a separate bottom zipper, that is where the bag sleeps. If it is a single tub like the Loowoko, it goes in first, down at the very bottom, and everything else stacks on top of it.
This is also where I put the items I will not touch until camp: the sleeping pad, the camp pillow if you carry one, and the change of socks I keep dry for bedtime. Compression saves you a little width here, but loosen it just enough to fill the corners of the pack. Empty corners are wasted liters.
Bottom of the pack is the one place you do not want the sleeping bag sharing space with anything sharp or wet. Before the bag goes in, I lay a trash-compactor liner across the whole bottom and up the sides, then set the bag inside it. That single layer is what keeps a soggy gear strap from soaking the loft overnight. The sleeping bag sits loose, I press it into the corners by hand, and I leave it there until I am at camp. Nothing else touches the bottom until the bag is out and lofted on my sleep pad.
Step 2: Stack the heavy gear against your back, mid-pack
Here is the rule that changes how a pack carries: the heaviest items go in the middle of the load, pushed against the back panel, not at the bottom and not on top of everything. A stove, a full fuel canister, your food bag, the 2 liter water bladder you are starting with, the first aid kit. Those near your spine keep the center of gravity over your hips and stop the load from pitching you backward on the climbs.
The mistake everyone makes is letting the pack sag bottom-heavy, which pulls on your shoulders all day, or loading the top, which makes you fight the balance on every step. I pack the food bag flat against my back, cushioned with the puffy or down jacket I am wearing in the morning and will shed by noon. That jacket earns its space as padding.
Food weight is the largest single lump you will balance, and it deserves its own rule. I split the food into two day bags rather than one giant sack. Day one food rides low against my back, cushioned by the down jacket. The dinner for the first night and the day two food sit a little higher, still against the back panel. Spreading it keeps a single heavy bulge from forming at your kidney, and it means you never dig through a whole bag of food to find the one peanut butter packet you want on the first break. If a bear canister is required on the route, I carry it upright against my back and centered, because it will not crush and it does not compress, and it wants the most stable spot in the load.
Step 3: Keep the kitchen and water within reach, top half
Anything you will pull out on a break goes in the upper half of the main body or the top lid pocket. The stove, the fuel, the cook pot, the spoon. You do not want to unpack half the stack to make lunch. The top lid on this pack swallows the small daily stuff: the sun screen, the bug spray, the map, the headlamp, the snacks. If it has an under-lid pocket, that is where the rain cover and the small repair kit live.
I keep the water accessible too. A bladder with a hose running out the top shoulder slot means I drink on the move without stopping. If you use bottles, put one in a side pocket and resist the urge to fill both to the brim at the trailhead. You will cross water on most Cascade routes, and a filter makes carrying two full liters of dead weight a choice you do not have to make.
A fuel canister earns an isolation rule of its own. It goes in a side pocket or a small dedicated pouch, never loose in the top where it can roll against your stove or your spoon. Propane canisters are tough, but a knurled valve rolling loose against a ceramic mug or your rain shell zipper is a wear point you do not need. I keep mine upright in the side pocket, valve cap on, and I tape the lid over the valve so no grit works into the threads between trips.
The filter is the one water item with a fixed spot for me: an outside side pocket or the mesh stretch pocket on the front, never buried in the main load. You want it dry and you want it reachable, because you will filter at every creek crossing and you do not want to rebuild the load to get at it. If your pack has a hydration sleeve, the bladder and hose slot in there against the back panel, and the filter rides the outside mesh so it drains and dries as you walk. A wet filter shoved inside a sealed pack is how a good filter grows its first spot of mold.
Step 4: Layer the rain gear and the clothes you will shed
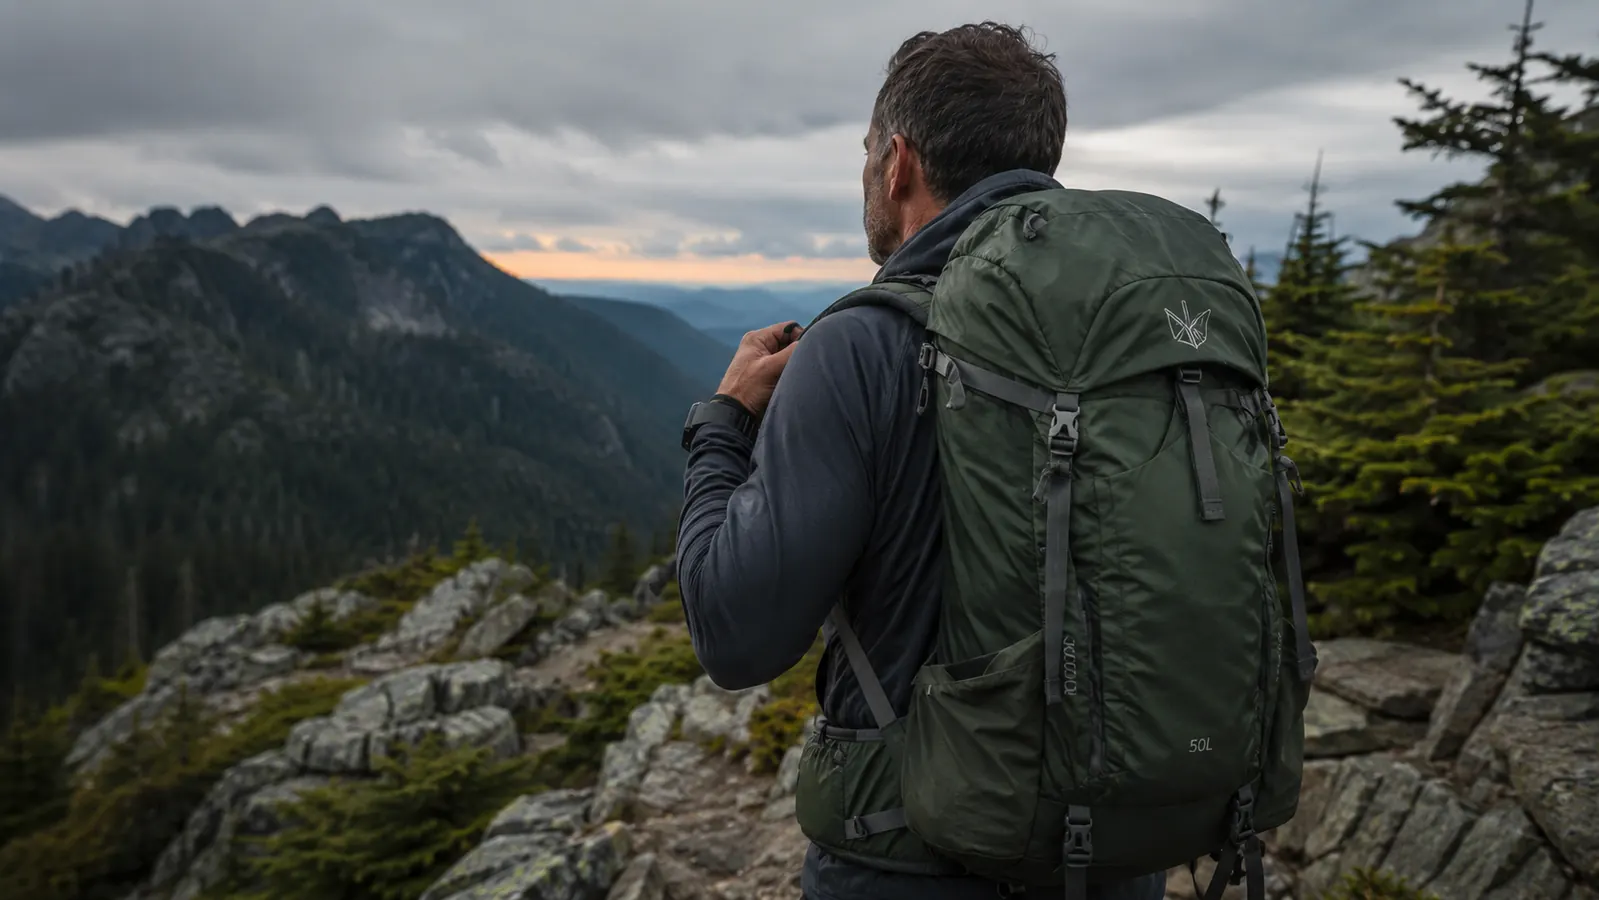
The Pacific Northwest rains on a schedule you do not control, so the rain shell goes on top, where you can grab it the second the drops start. Not buried at the bottom under the sleeping bag. I keep my hardshell folded flat against the top back panel, or in the external strap pocket if the pack has one, so it comes out in under ten seconds.
Everything wool and insulating goes into a single dry sack or trash-compactor liner at the bottom of the main compartment, inside the waterproof zone of the pack. A 50 liter pack is only as dry as its liner when the sky opens. I put the dry clothes bag in first on top of the sleeping bag, then build the rest of the load around it. On a wet trip the difference between a dry sleep shirt and a soggy one is the whole trip.
In the Cascades the rain does not announce itself. It arrives as a wall that is on you before the pack is off, which is why the shell has a permanent top spot in my system. It lives folded flat against the top back panel or, when the forecast has any chance of a downpour, in the external strap pocket where my hand finds it without looking. On a genuinely wet weekend I keep the shell out of the main tub entirely and let it ride outside, because a wet shell packed against dry wool leaves the pack damp inside by lunch. The Loowoko's own rain cover stays in its bottom pocket, and I grab it before the first drop if the shell is already out.
Step 5: Close it, compress it, and strap the bulge flat
Before you zip the main compartment, shake it once so everything settles into the corners. Then close it and use the compression straps to pull the load tight against the frame. A pack that joggles is a pack that pitches you around. The Loowoko has compression straps on both sides that turn a lumpy load into something that rides close and quiet.
The last open slot goes to the things you want out in the daylight: the trekking poles if you carry them, the tent or tarp strapped to the outside, the fuel canister if it will not fit with your stove. I hang the tent across the top and the fishing rod case along one side so nothing rubs against the rain cover. Then the cover goes on, and the whole loaded pack gets a shake test to make sure nothing is swinging loose.
Once everything is strapped flat, the trick is not to overthink the remaining half liter. If the pack will not close without a fight, find the one thing you are carrying because you might, and take it out. A weekend does not need the extra hoodie and the second paperback. I am ruthless about that last pull on the compression straps, because a pack that sits tight to your back and quiet on your shoulders is the difference between a good first day and a sore one.
What Else Helps
The load order gets you most of the way, but a weekend stays comfortable because of the small decisions around it. Weigh the pack at home before you drive to the trailhead, then subtract the stuff you are not certain about. A 50 liter pack wants to carry about 30 to 35 pounds comfortably, so if yours is heavier, that is a packing problem, not a pack problem.
Fit the pack to your torso before you load it, and reset the shoulder straps and hip belt with the full weight on your back, not empty on the living room floor. And keep one dry layer you swear you will not touch until you are in the tent. The discipline of leaving one clean thing counts more in the rain than any fancy gear.
The wet versus dry compartment discipline is the closest thing to a guarantee on a rainy trip. Everything that must stay dry lives in one or two dry sacks or inside the liner at the bottom: sleep clothes, the puffy, electronics, the dry wool socks. Everything that is allowed to get wet has no vote in the matter: the tent fly, the tarp, the rain cover, the shell once it is on. If it can be replaced at a gas station, it lives outside the waterproof zone. If losing it ruins the trip, it lives in the liner. I have run this split for years and it is the single rule that has never let me down in the November rain.
I also test the whole loaded pack at home the night before, not at the trailhead. I put it on, swing side to side, bounce twice, and check that nothing thumps against my hip or pokes my ribs. That is when I find the fork handle stuck out of a side pocket or the fuel canister riding too high. Fixing it on the kitchen floor takes ten seconds. Fixing it at the trailhead in the parking lot drizzle takes the whole first mile.
The night everything else was damp, the one dry sleep shirt in the liner was the whole reason the trip still felt good the next morning.
Pack the weekend, not a wish list
When the load order is right, a 50 liter pack disappears on your back and two nights out feel like a single good day. The Loowoko 50L is the pack I trust this system to, trip after rainy trip.
Amazon Check Today's Price on Amazon →